If you’re a coach, service provider, a social media manager or an online business owner, then I’m pretty sure you know this situation:
You set out to plan your content ahead for the month – for real this time! But in the end, batching takes up so much more of your time than if you just create on a whim. Ugh.
I felt the same way for a long time and wasn’t an big fan of planning and batch-creating our content.
But the downside of “just posting like that” was also clear: Our content was a bit too random, too inconsistent, and gave me more sleepless nights than I could just pile on.
That’s why we started looking for a solution – and the result was this 5-step content workflow
➡️ Since we’ve been using this routine to plan our content, we always have at least 30 days of content ready, we always know exactly what’s going to be posted next – and above all, we suddenly have so much more time to devote to other topics in the business.
You want that, too? Then let’s dive into the easiest content planning workflow you’ve ever seen! ????
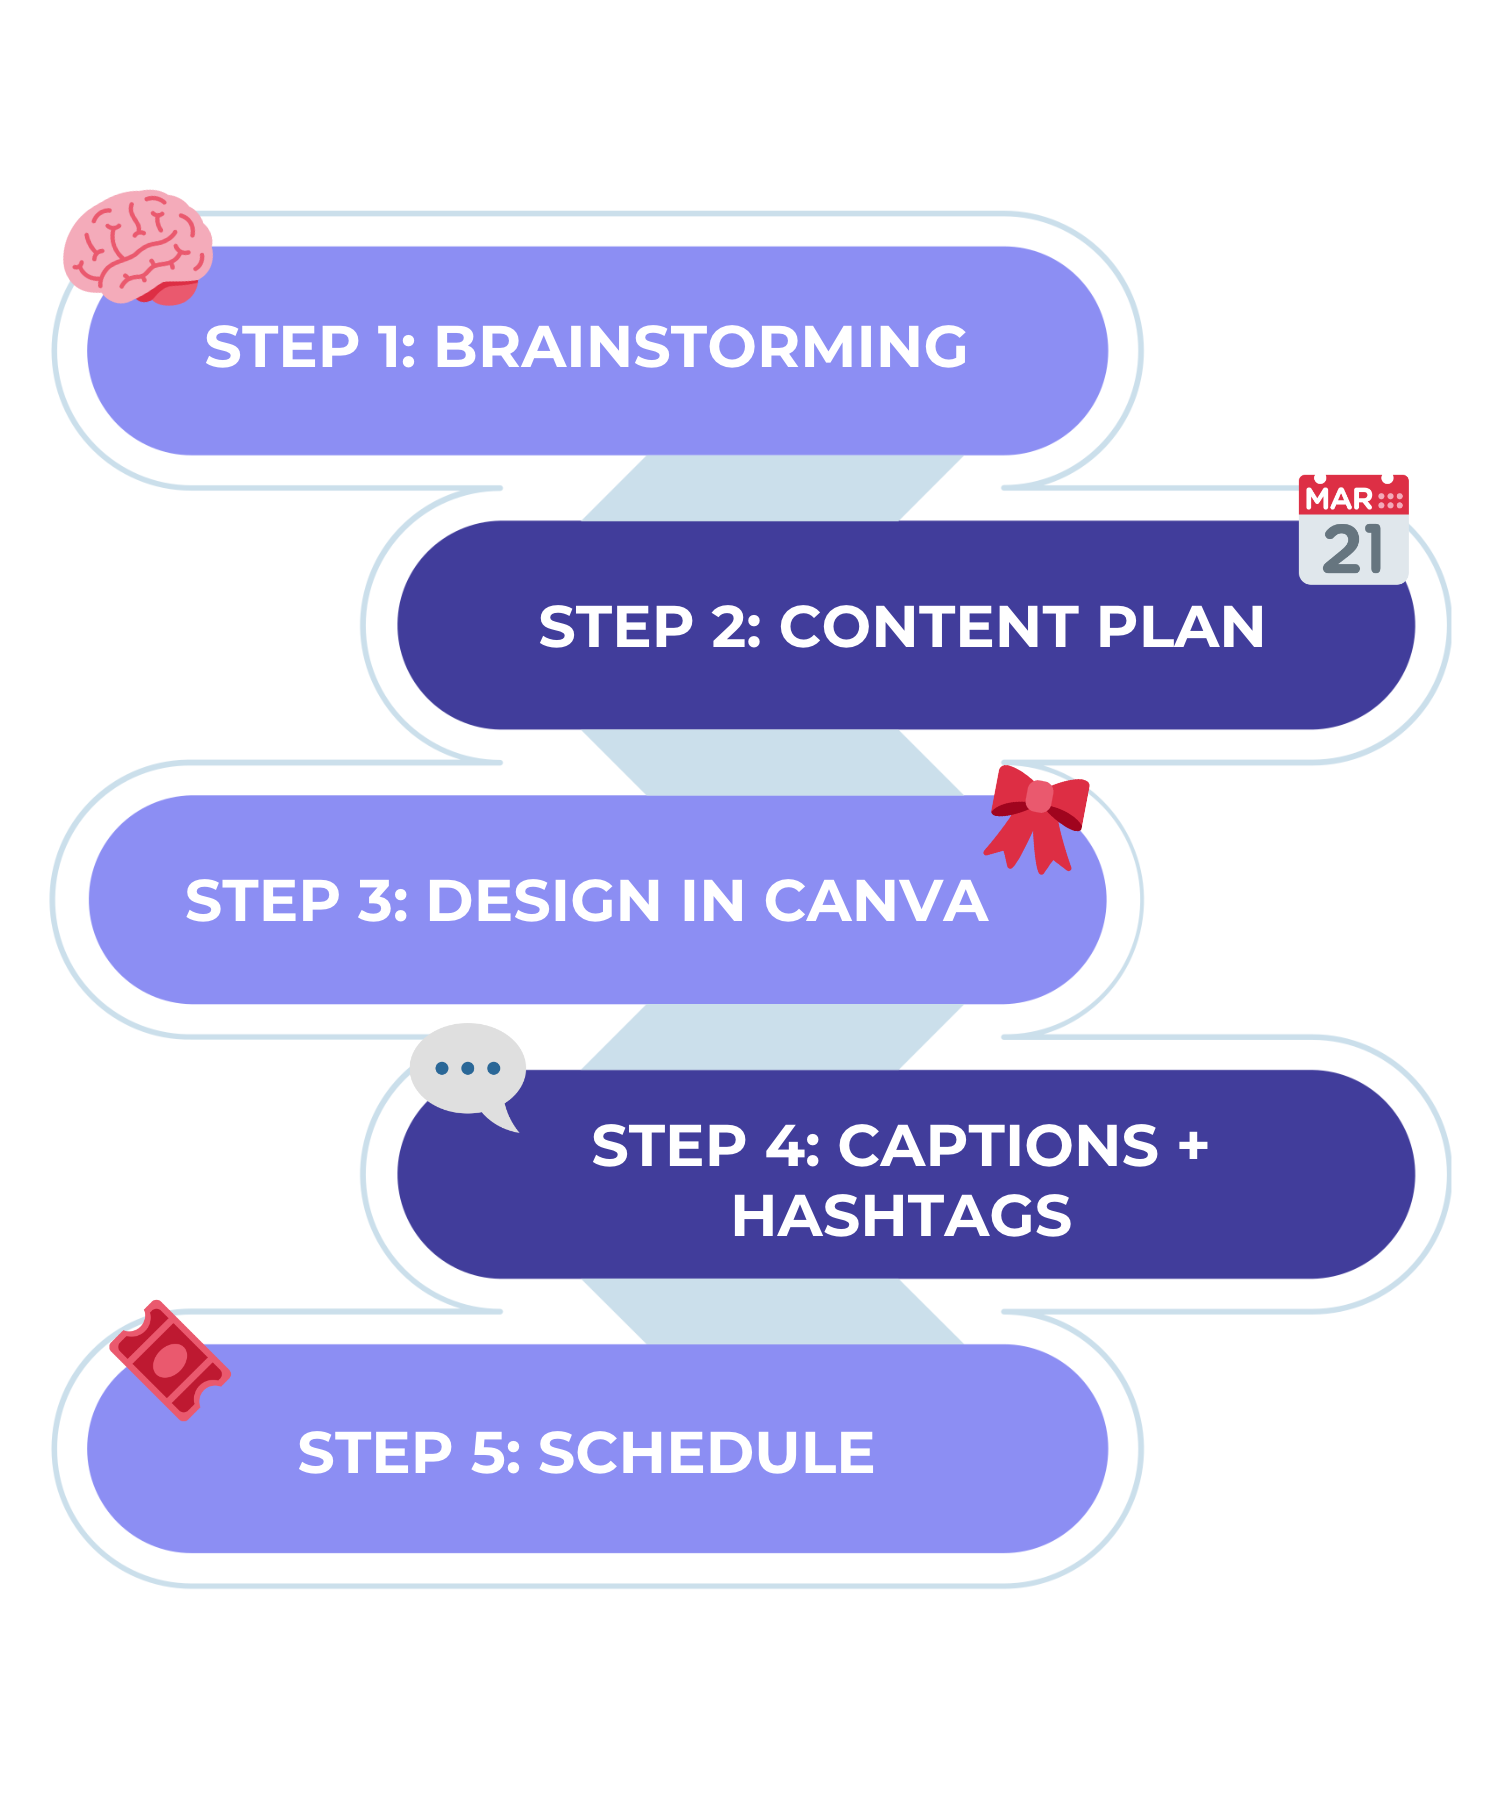
Step #1: Brainstorm ideas with the PACE method
Before you can get into planning anything, you first need ideas! And after seeing so many brands just randomly put out content ideas “in your niche”, and struggling with this approach ourselves, we created a simple framework for coming up with ideas that reliably help to turn our followers into clients.
Because that’s what we all want, right?
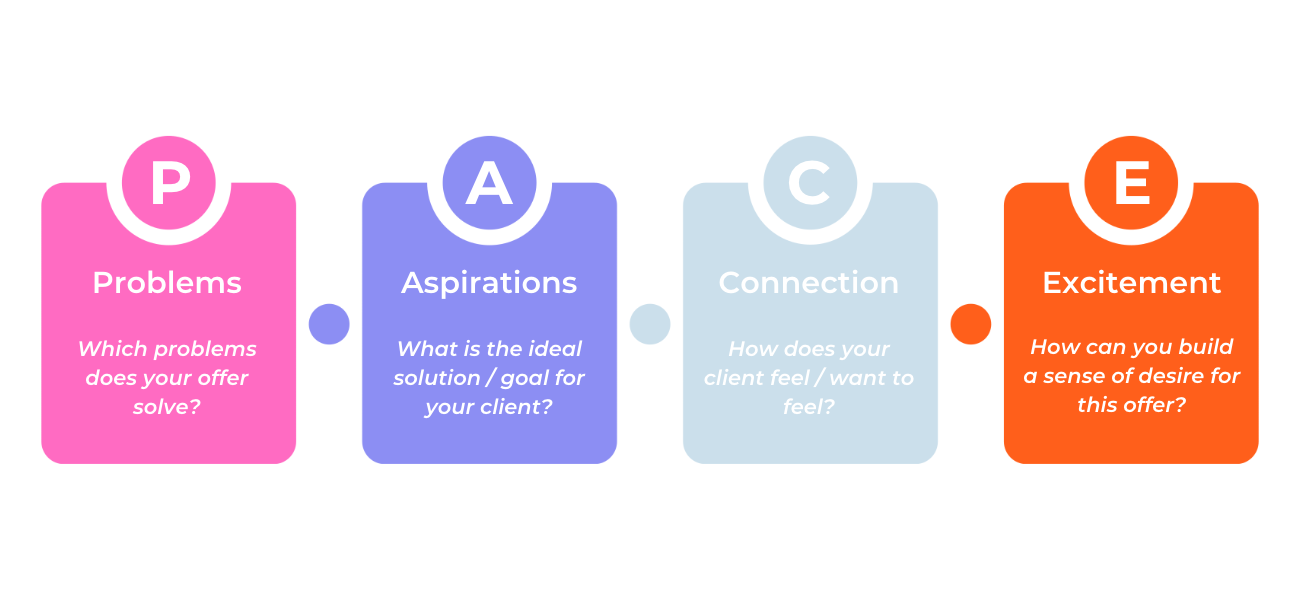
Introducing: The PACE method for brainstorming content ideas.
The trick behind the PACE method is to start with your offer and reverse-engineer from there:
- Problems: What are the problems your client has, related to this offer?
- Aspirations: How does the ideal solution / the goal of your client look like?
- Connection: How does your client feel now (before purchasing) and how does he or she want to feel (afterwards)?
- Excitement: How can you build anticipation and desire for buying your offer? (E.g. with a freebie, social proof like case studies and testimonials, storytelling etc.)
???? For every idea, ask yourself: Is behind this idea a pressing question, a problem or a vivid goal my ideal client has? Is it 100% related to something I offer? Will it move my audience one step closer to the offer? Is it something they need to know / understand before they are ready to buy?
If the answer is no, toss the idea.
Example: You’re a nutrition coach and your offer is a meal planning template.
- ✅ Problem Content Idea: 20 Ideas for a Week of Easy Dinner Meals (Problem: I don’t know what to eat during the week)
- ✅ Aspiration Content Idea: 5 Quick Steps to Create a Weekly Meal Plan (Goal: I want my meal planning to be easy and quick)
- ✅ Connection Content Idea: The superior feeling when I already know what I’ll eat tonight (Emotion: I feel stressed by not knowing what to cook)
- ✅ Excitement Content Idea: Download my Free Meal Planning Checklist
- ❌ Unsuitable content idea: 5 Healthy Recipes to Lose Weight Quickly (your client may want to lose weight and maybe you know the most delicious recipes, but in this case it’s not related to your offer)
We like to do a brainstorming session for new ideas once a month. If you have a blog or a podcast, also scource ideas there. You can keep track of your ideas in a simple Google doc or use Notion (my favorite tool for content planning!).
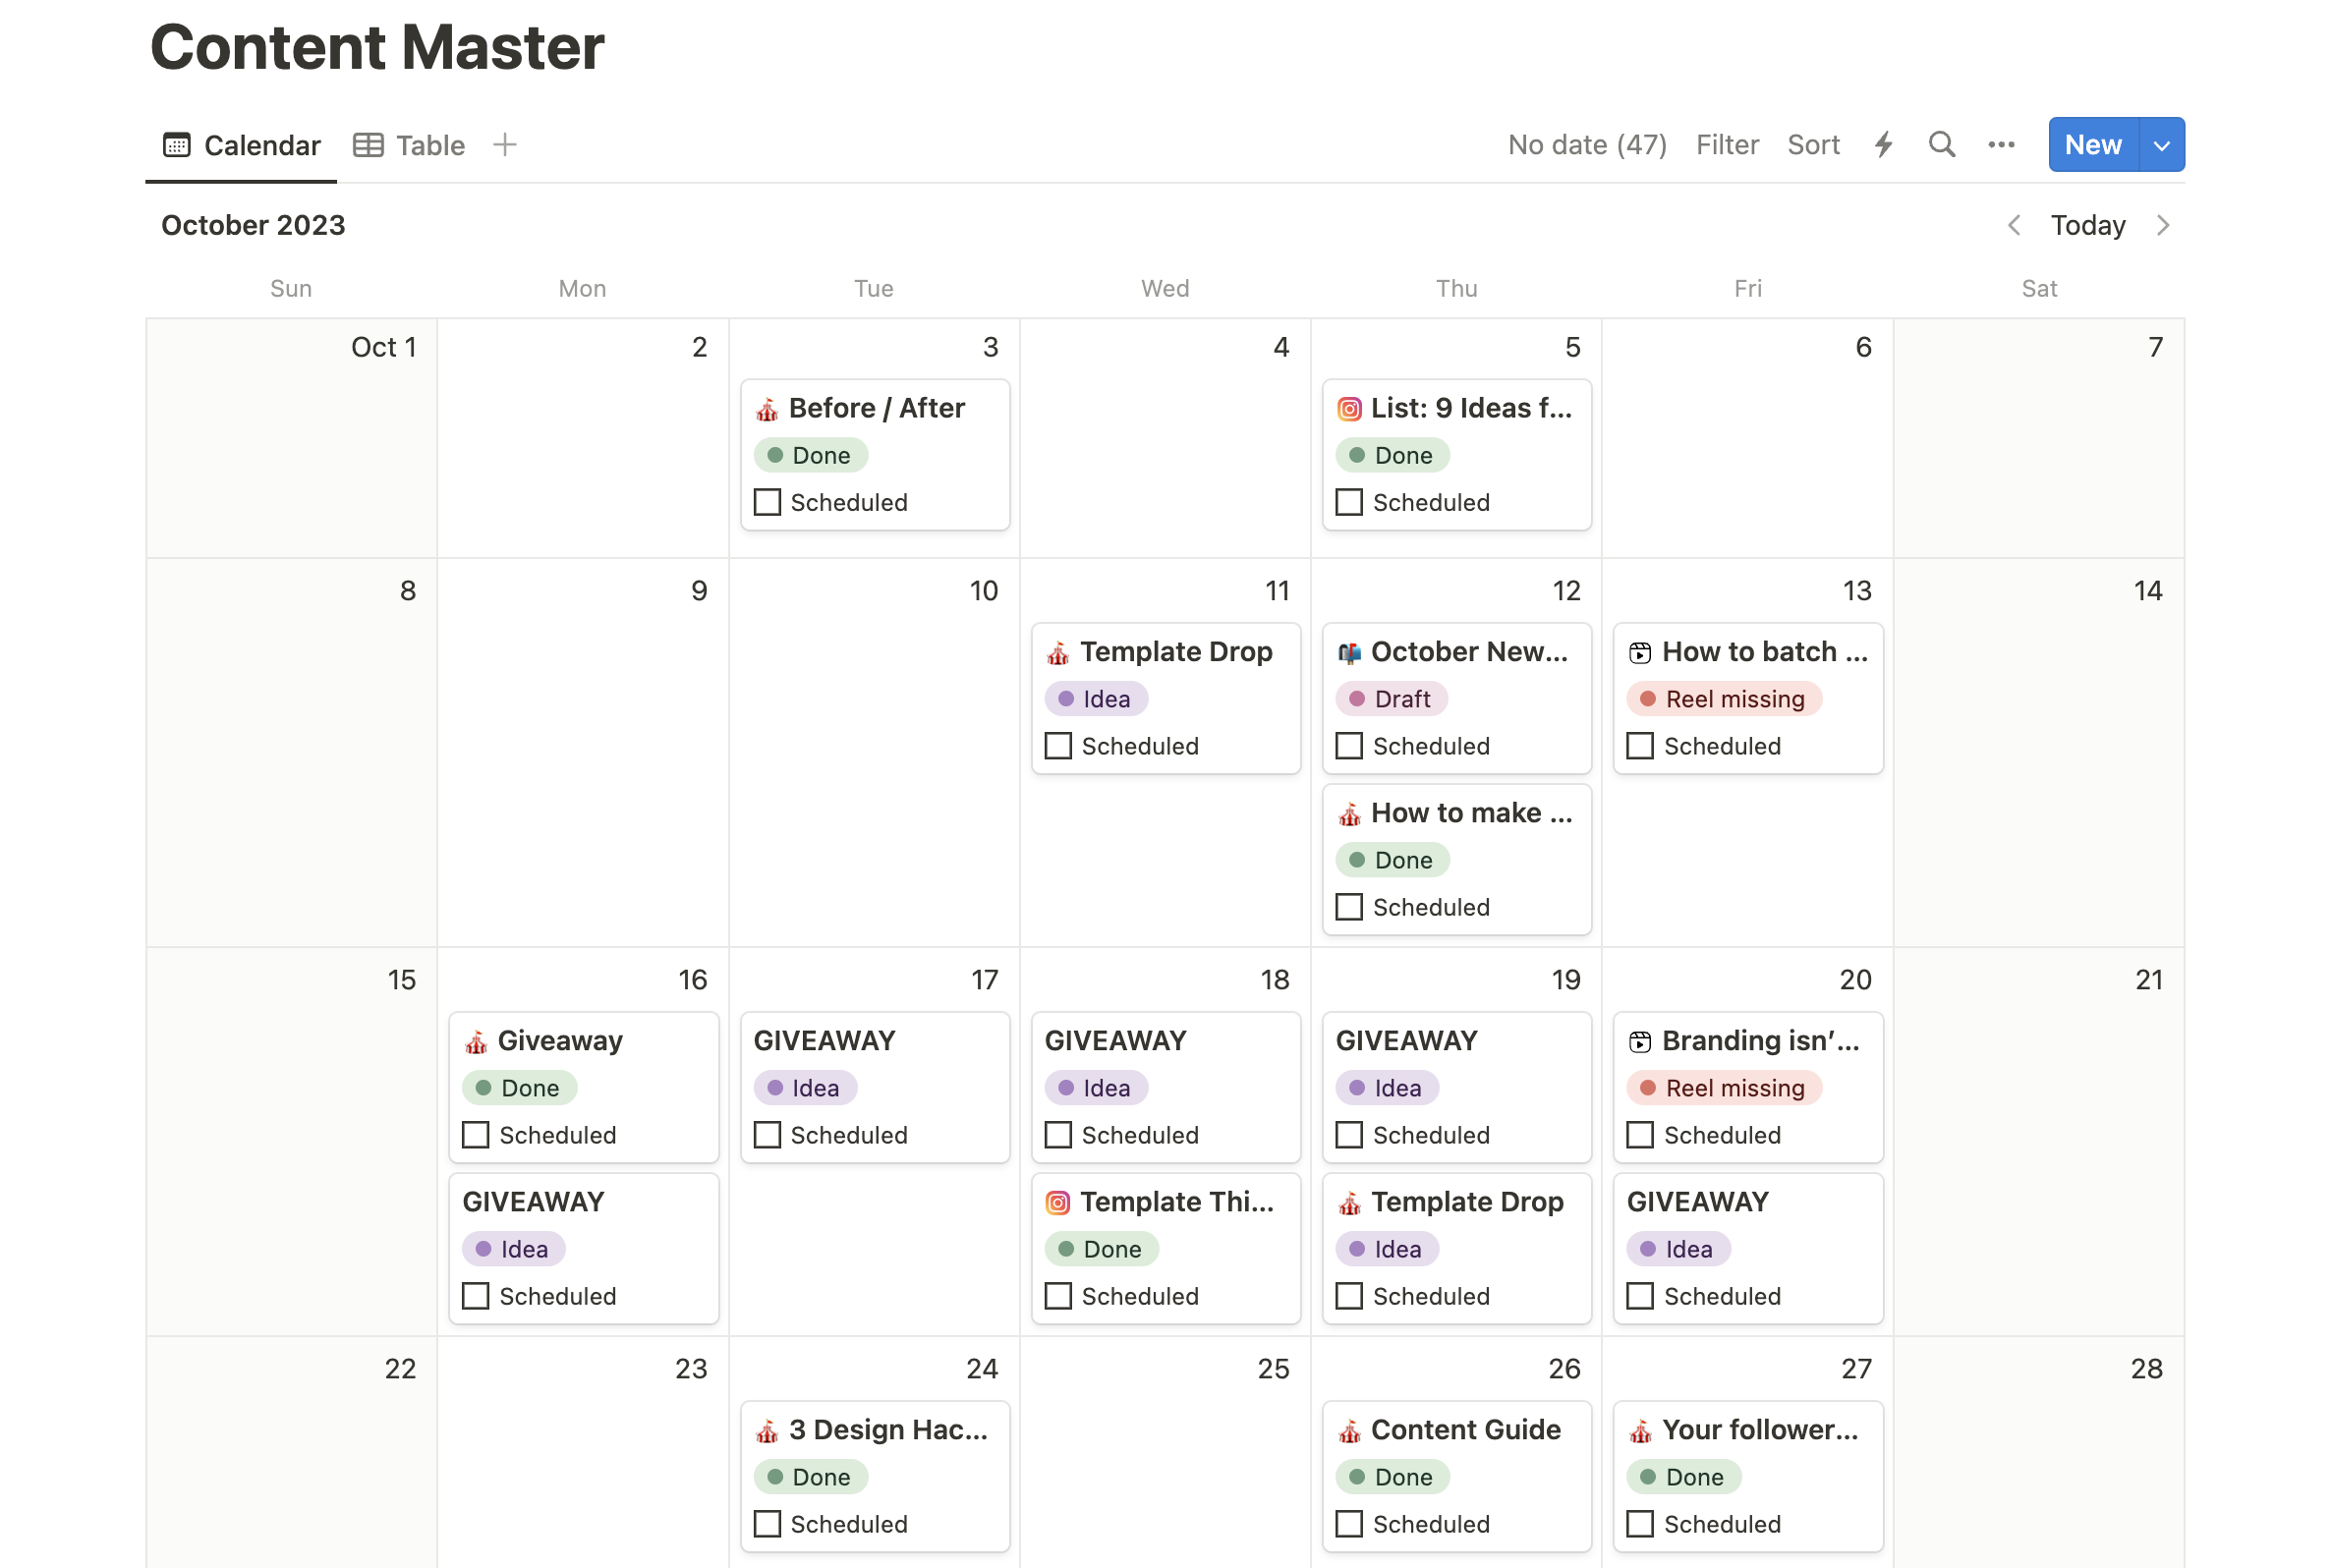
Step #2: Fill your Content Calendar
Now that you’ve got a ton of ideas from your brainstorming session, we’ll go on to the next step: Creating a plan with these ideas.
Important: Your content plan should always follow a strategy. If you don’t have a content strategy mapped out yet or a struggling to create one, it’s time to discover the simplest Instagram strategy you have ever seen ????
Related Article: The Minimalist Instagram Strategy
With your strategy in mind, you’ll first define how often per week you want to post and how many posts, stories and Reels you can realistically create.
Put your ideas in a calendar according to your strategy and there you have it – a plan for the next 30 days!
Step #3: Pick the Templates + Design in Canva
Now the fun part starts (at least for me being a designer, it is!).
You have a bombshell plan that’s ready to be executed. All you need to do now is create your content.
I always like to start with the visuals – your graphics, carousels, story visuals and Reels. If you prefer to write captions first, then proceed to Step 4 and come back after you’re finished.
Jump into Canva and create a new blank design for the month you’re creating content for and for every content format. This will make it a 100x easier to repurpose your content later!
Our typical Canva folder structure looks like this:
[Month] / e.g. July 2023
- Instagram Posts July 2023
- Reels + Covers July 2023
- Instagram Stories July 2023

Then pick a template that matches your idea and start designing.
Using strategic templates from our own Template Membership library has increased my productivity massively. Even as a designer I could easily spend days on creating 10 Instagram posts – just because I couldn’t decide on how the graphics would look like and would switch things up a hundred times.
➡️ Now, with using our templates, I get a month of graphics and Reels done in a day!

You don’t really know where to start customizing your templates? Check out this article where I share my best designer tips for creating stand-out visuals that look nothing like templates! ????
Related Article: How to make Canva Templates look 100% like your Brand
Tip: Get yourself access to a broad range of different templates and an automatic supply of new templates, so you always have the right one at hand for your ideas. My designer tip is to not use Canva’s template library (since most of the popular templates there have already been all over the place on Instagram), but to invest in a strategic template subscription like the Template Membership!
Step #4: Write Captions + Research Hashtags
You’re almost there! The next step is writing all your captions and researching hastags.
See how we’re batching all tasks here? This is one of the game changers in this workflow since you’ll never be multi-tasking and task-switchting, but focus on one step at a time.
Ideally, your content plan has space to insert a caption and choose matching hashtags for each content piece.
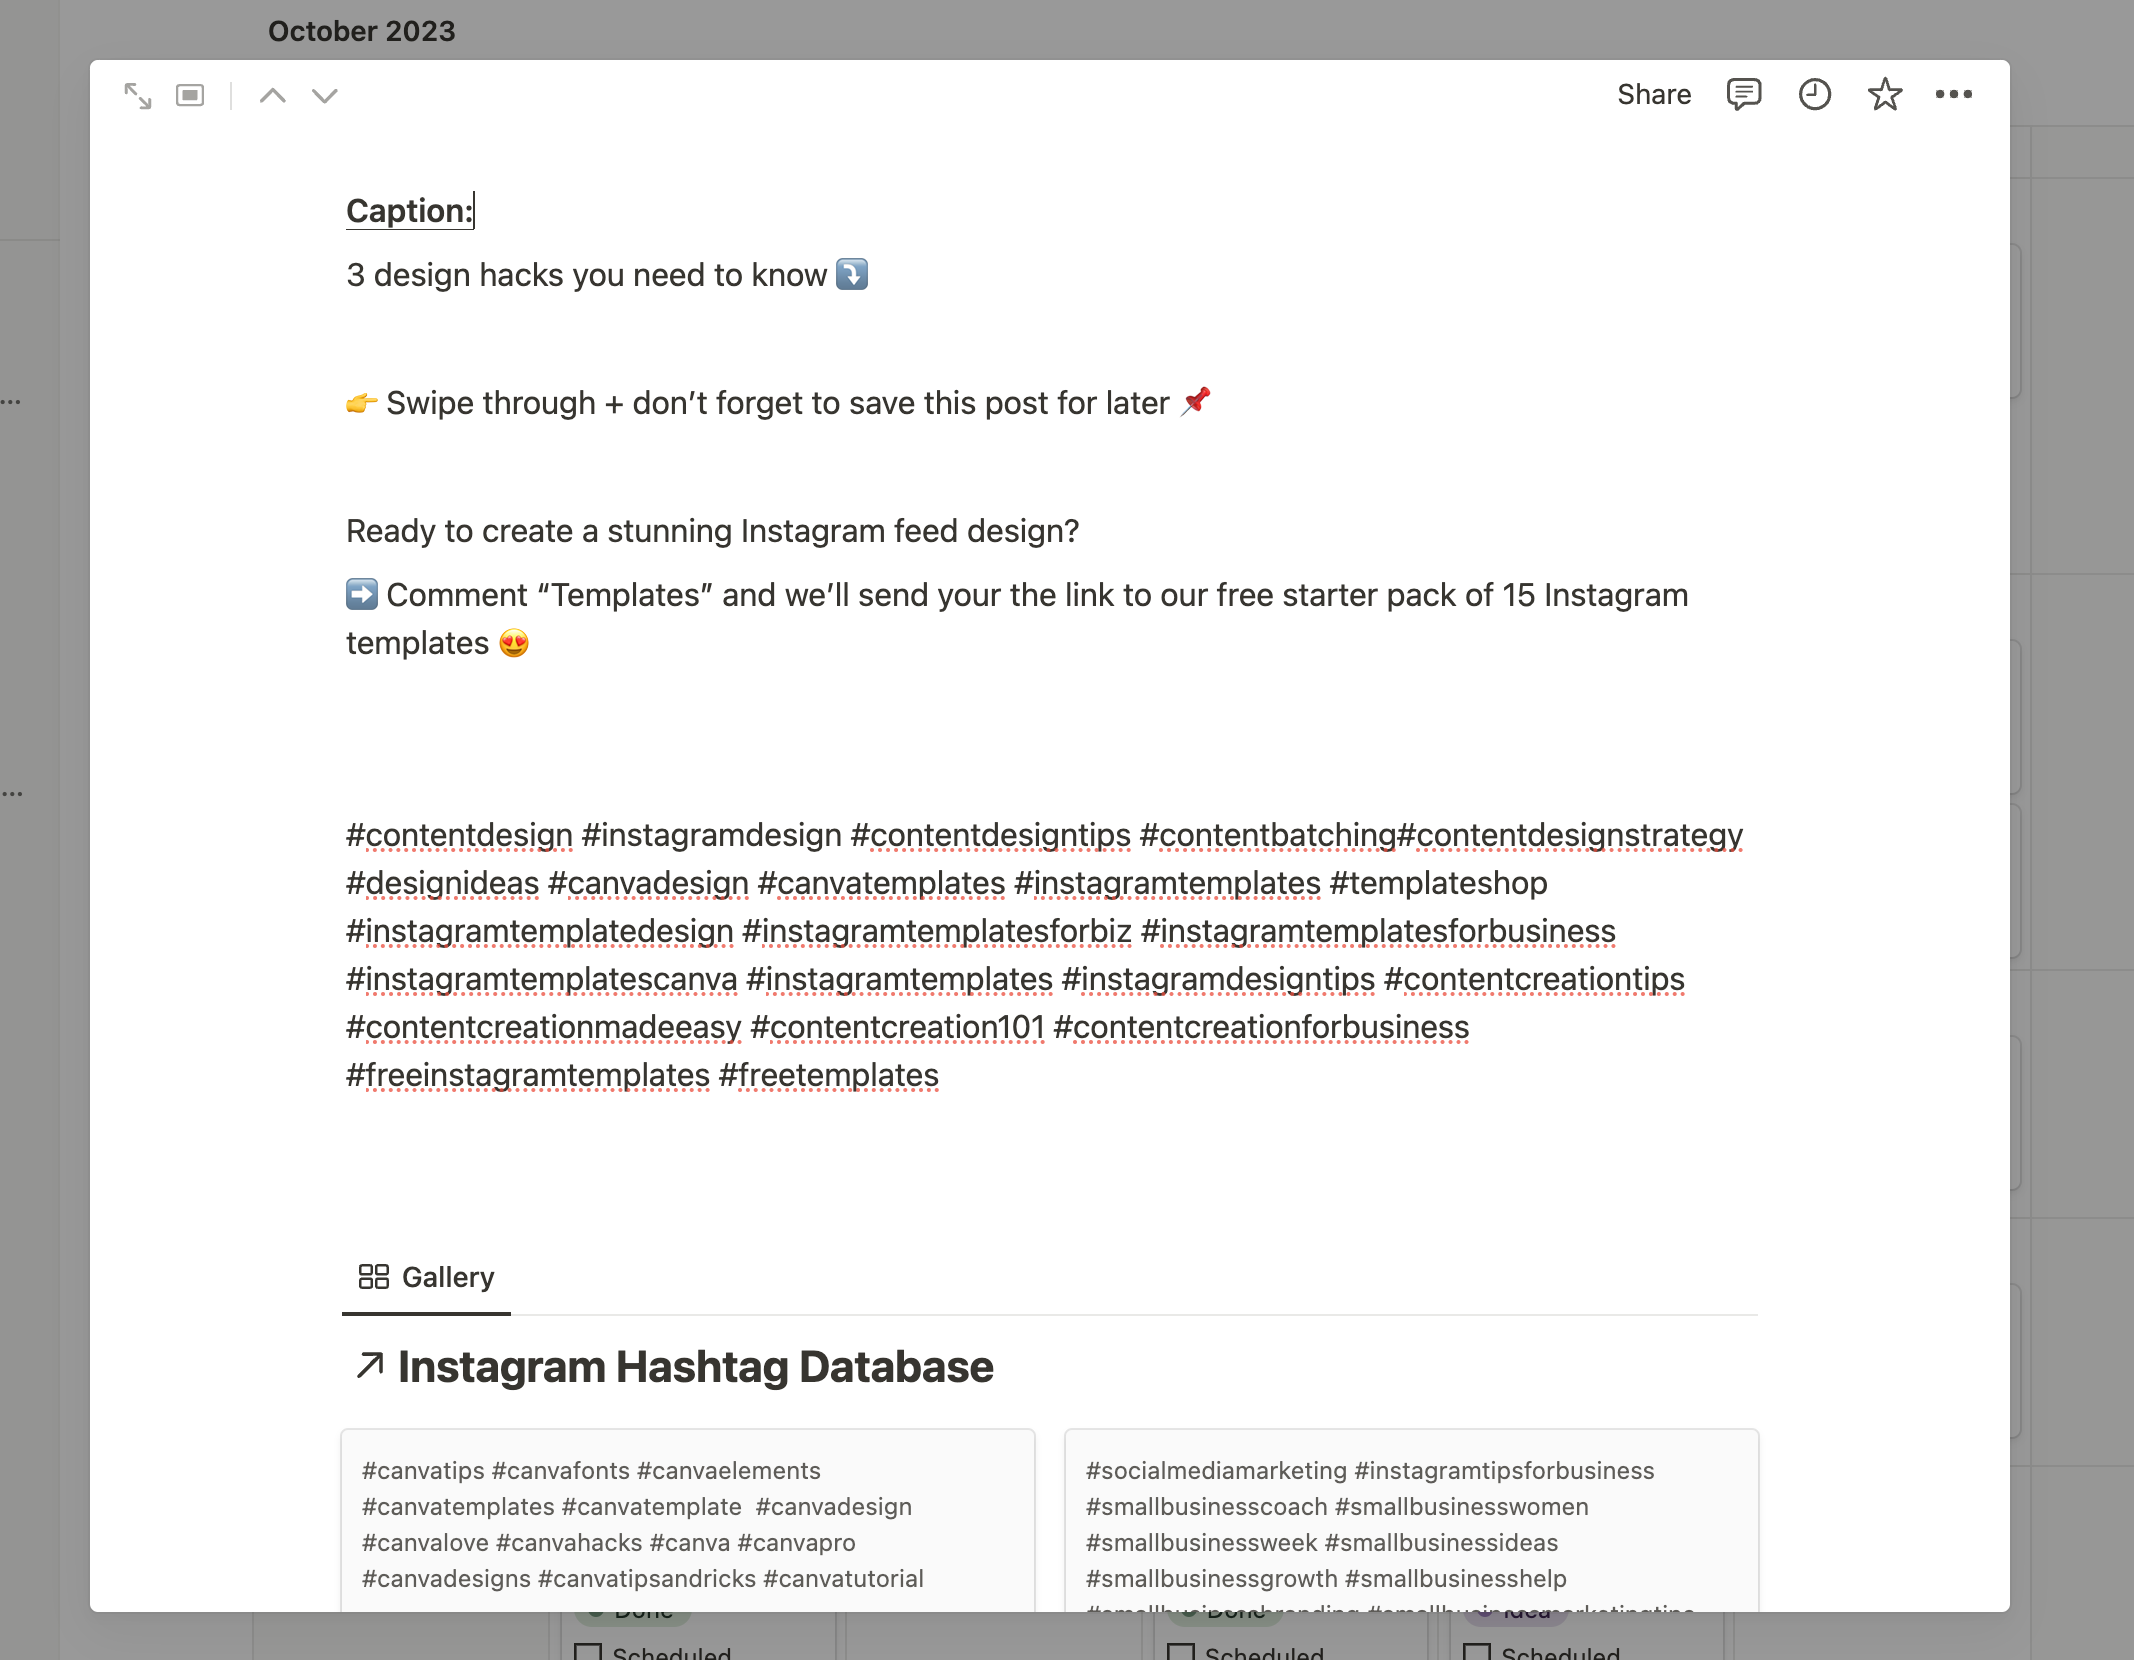
My favorite hack for writing captions is – ChatGPT! I know, there is a controversial debate about whether you should be using AI to write copy for your brand… but I think it is too much of a time saver to not use it!
With a combination of ChatGPT and the hashtag vault in our Notion content planner, I manage to finish all captions for an entire month in less than 3 hours.
Just make sure that your captions still sound like you and you customize them to fit your brand before you publish.
Step #5: Schedule your Content
Your content is ready (how easy was that?!) – and to top it off, we also want to make posting it a breeze.
In the last couple of months I’ve tested different scheduling tools, like Later, Planoly, Plann and Meta’s Business Suite.
Most of the time we schedule our content with the planning tool in Meta Business Suite – it’s free, allows you to schedule all content formats and after a bit of a learning curve you’ll get the hang of it quickly.
Tip: If your Reels use audio from Instagram, you can schedule them right from the Instagram app.
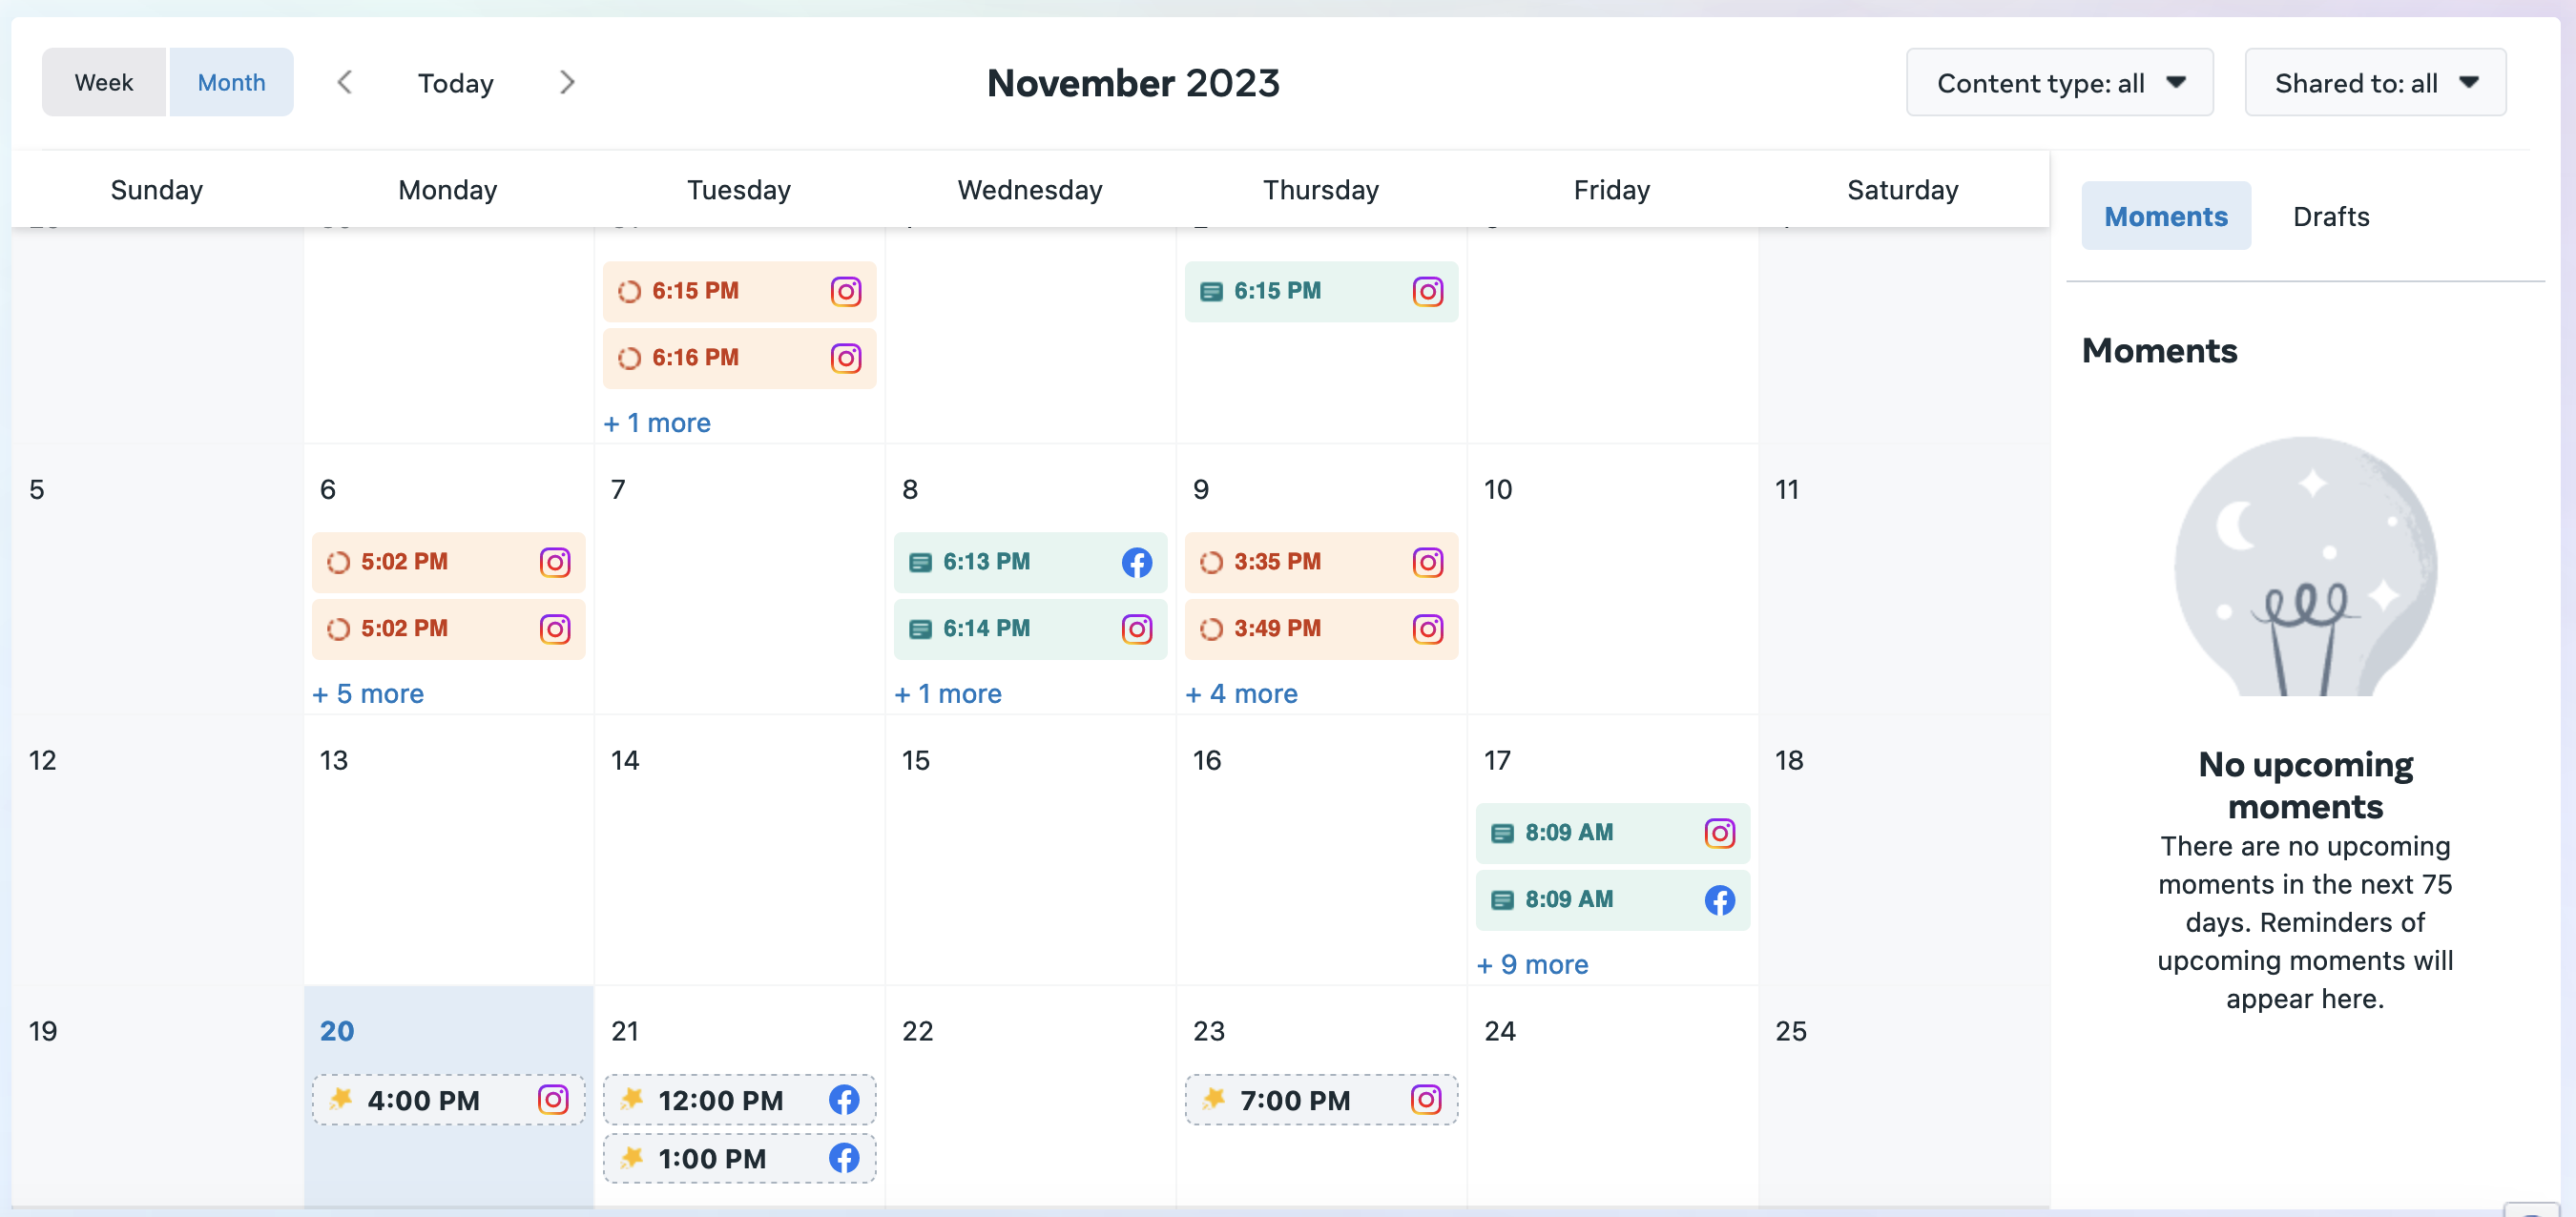
And it’s a wrap! This is our effortless 5-step content worflow that will easily help you plan your social media content without stress!
There is just one step missing to make your content creation truly stress-free…
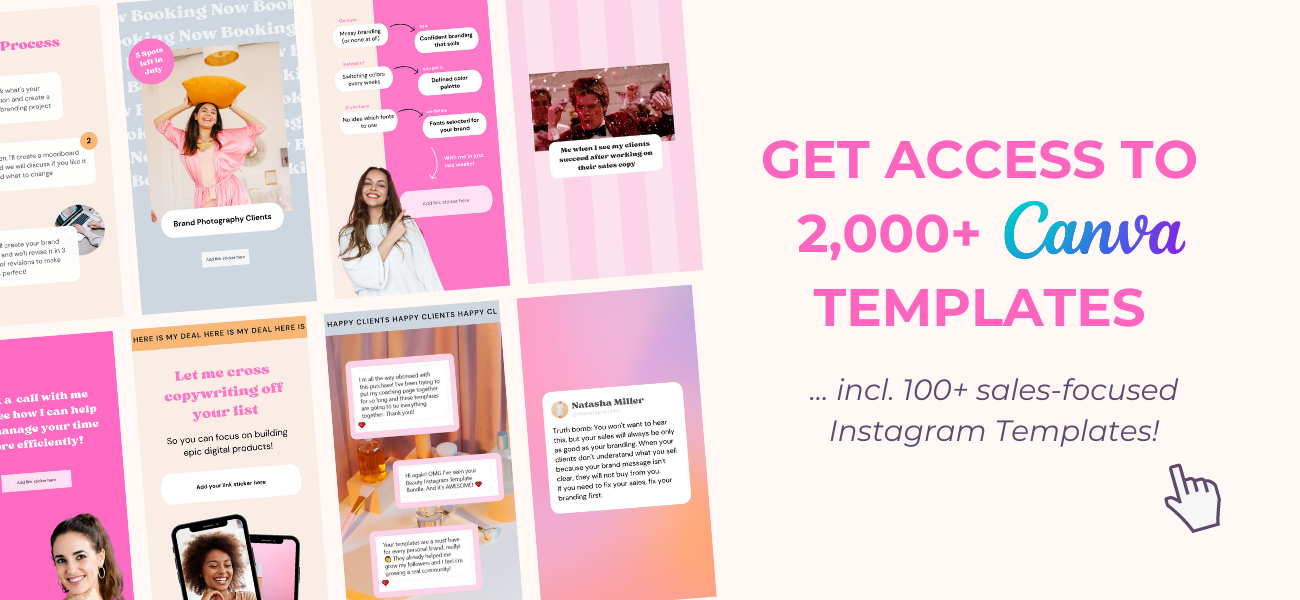
Bonus – Step #6: Join the Template Membership and get access to all Canva templates you’ll ever need
If you’re ready to dive into our workflow now, you can’t miss the Template Membership. Canva is our absolute favorite content creation tool, and we’ve put in a lot of effort over the past few years to create the perfect templates for your content workflow.
Make sure to become a member in our monthly plan for just $50 right here, and finally have all your templates, content ideas and design inspiration in one place.







One Response
This is awesome. I have never seen a tutorial that explains structure in this way. Thank you very much