This is one of my favorite Canva hacks!
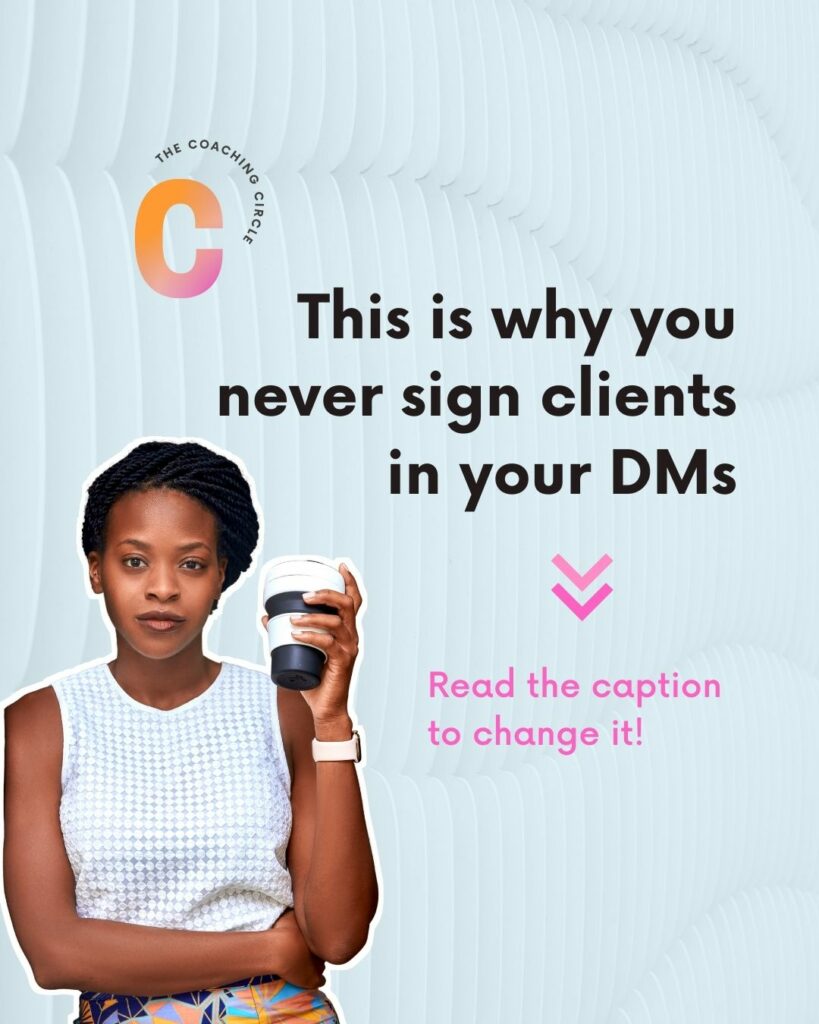
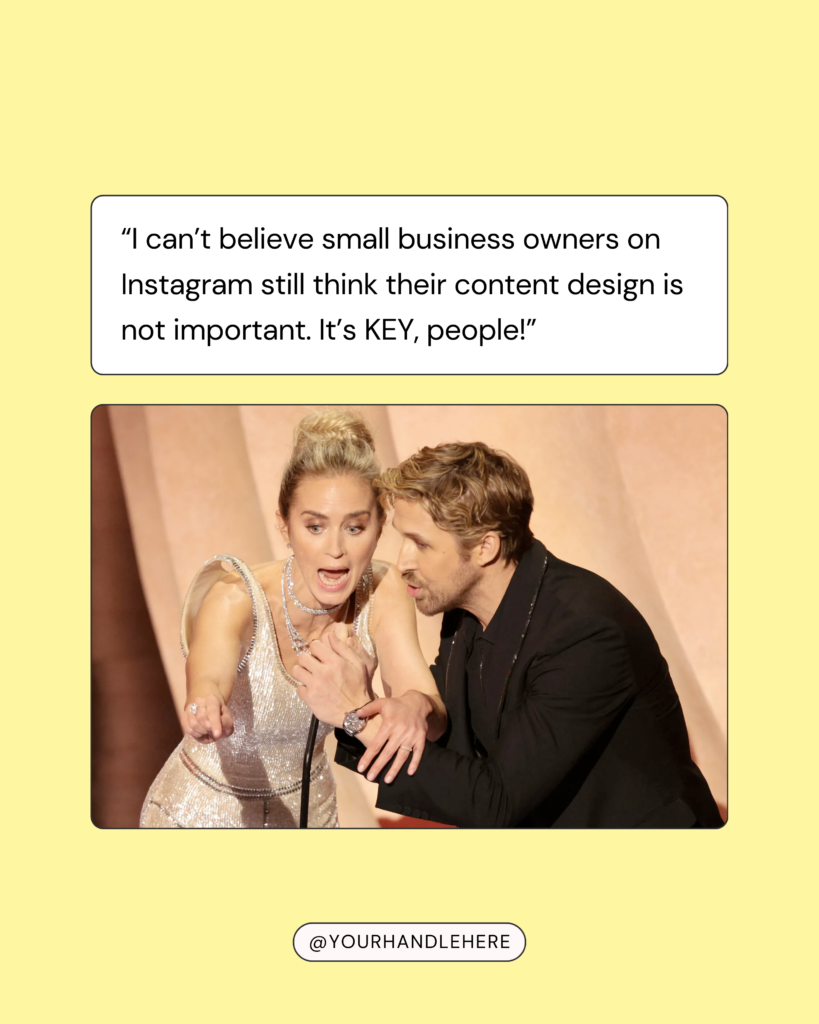
Have you ever wondered how we created the white border around cut-out images? Like also featured in some of our Instagram Template Packs?
Then this quick tutorial is for you!

We are using one of Canva’s new image effects.
This method has the benefit that you can create a border in any weight, transparency and color you wish. Not just plain white.
Let’s start ????????????
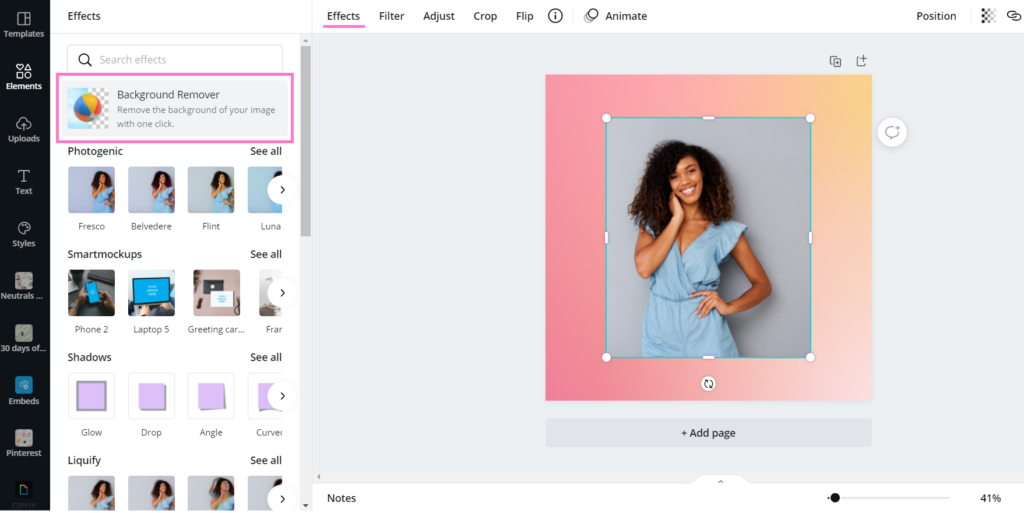
Step 1: Use the background remover feature
Place your image in a new Canva design.
We are now using the background remover feature available in Canva Pro to create a cut out photo.
Click on your image, go to Effects and then select the Background Remover tool.
Don’t have Canva Pro? Try it for free for 45 Days
If you’d lke to use the background remover, but haven’t upgraded to Canva Pro yet, you can easily use the free trial!
Canva’s trial period gives you complete access to all Pro features for more than a month, including the background remover feature.
While Canva normally only offers 30 days for free – we’ve got a special deal for you!
You can try Canva Pro for 45 (!) days through the link below. Hurry up, because this offer won’t last ????
➡️ Click here to grab your free 45 Day Canva Pro Trial
If you then feel you don’t need all the premium features, you can cancel before your trial ends and actually get Canva Pro for free.
Step 2: Use the Glow shadow effect with settings
Now we are ready to add our border around the image.
We’ll be using the Shadow feature for this.
Select your cut out image and navigate to Effects.
Under the Shadow Effects, you will see Glow. This is what we need!
Apply the Glow shadow and then click again on the little settings icon that shows up.
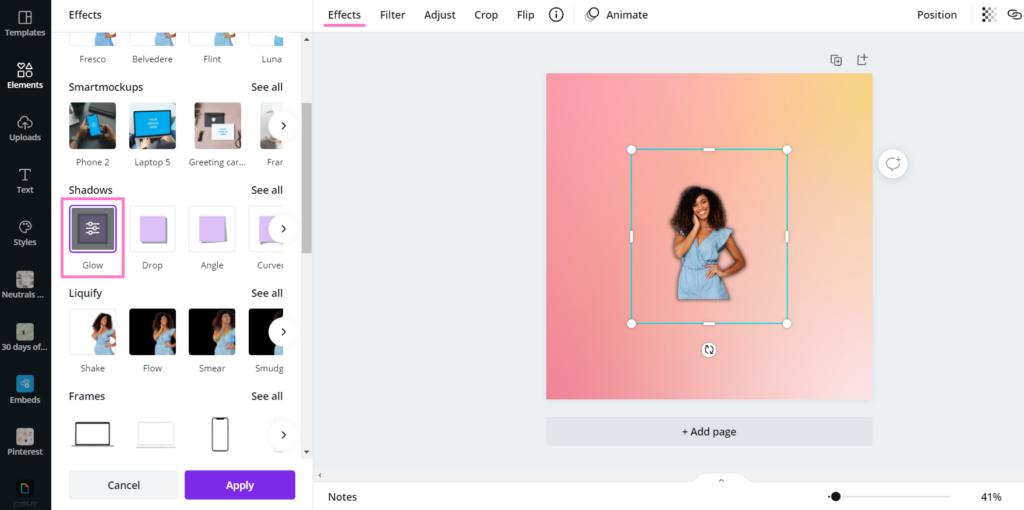
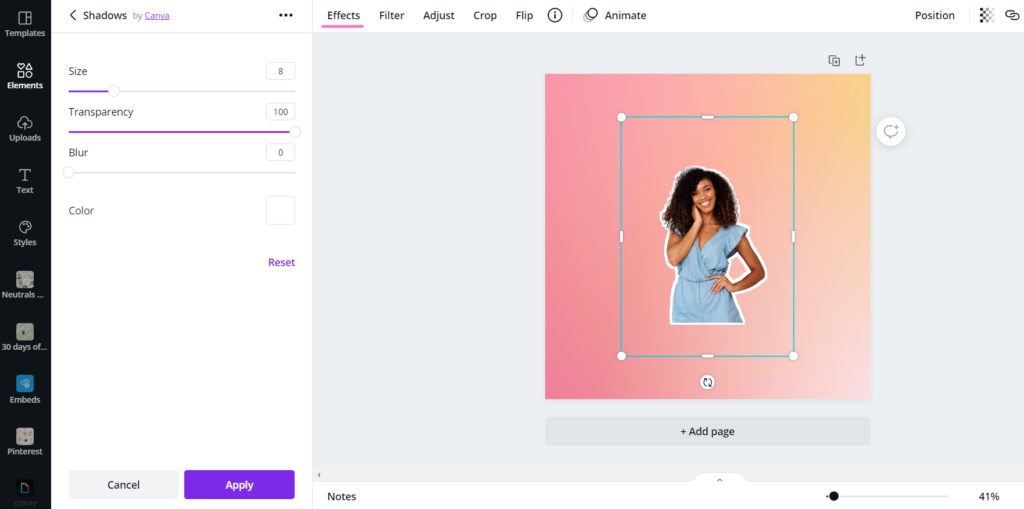
The options for our Glow shadow opens and we can style our border.
To achieve a plain white border, use the following settings:
- Size: as you wish
- Transparency: 100
- Blur: 0
You can play around here and create borders in completely different styles.
And voila, that’s it.
This is how you can add this nice border around your cut-outs.
Like watching a quick video tutorial? Here are the steps to create a white image border in Canva:
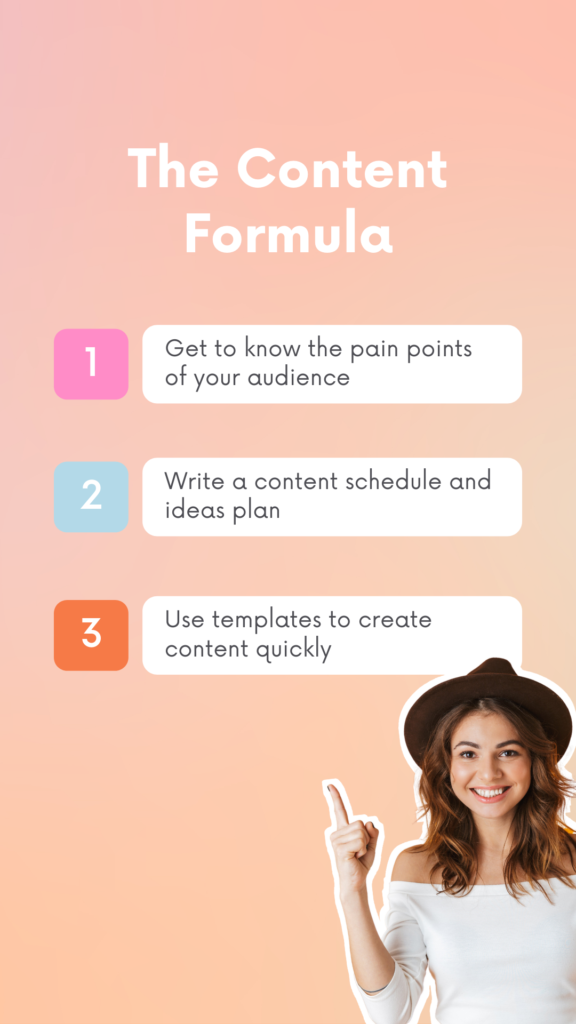
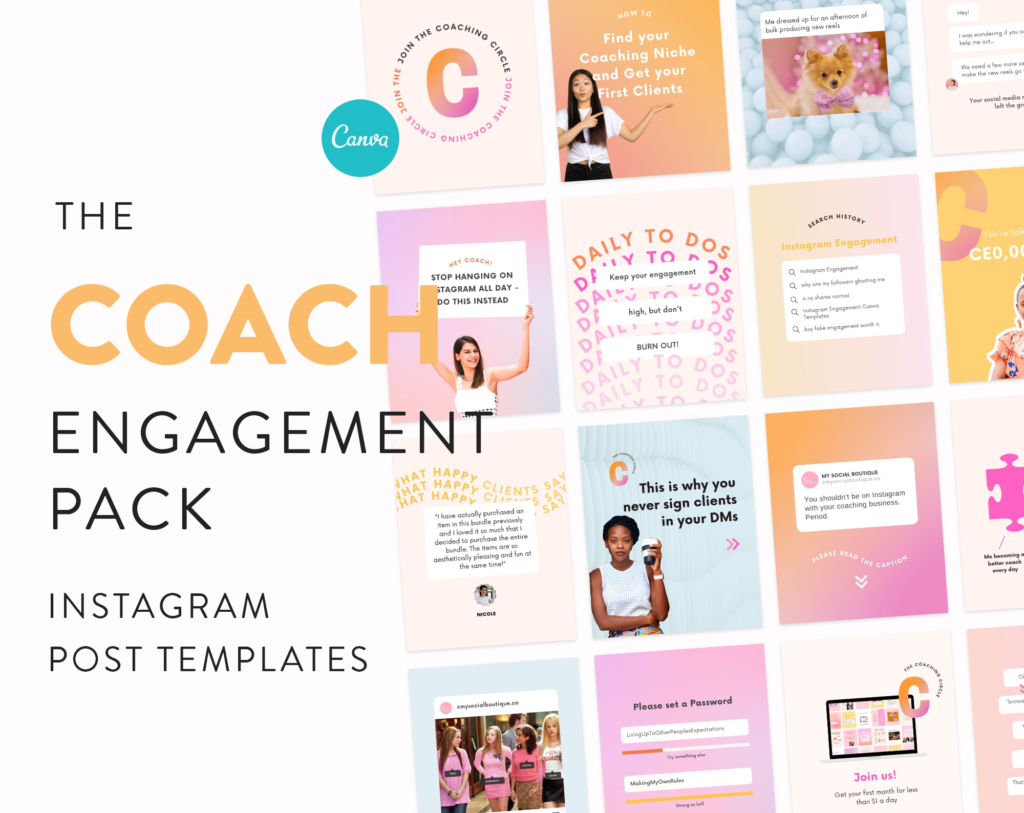
Have you tried this effect? If not, check out our new Coach Engagement Pack where we have added many ideas how to use a cut out image of yourself to build an engaging connection with your IG followers:


One Response